Thursday, April 9, 2015

Hexagon Art


Hexagon Art


That's what I am calling this. Here is your material list:

Most my items have been purchased at Micheal's but I have seen the canvas at Walmart.


Material List:

*Canvas       (size is up to you)

*Fiskar Hexagon die cutter  (in craft section by decorated paper. I used the large  hexagon cutter for this craft.)


*8-10 sheets of paper.
 You chose color scheme. To use glitter or not. I can give you a frugal idea on this one because the light non glitter grey and the non glitter teal I made at home. Just use card stock and spray paint the pages on one side to your liking! Cool huh? 

                                           *2  Glue sticks 


XXXXXXXXXXXXXXXXXXXXXXXXXXXXXXXXXXXXX


Now for the "HOW TO":

I always have yarn on hand because I love to crochet. I took a snip of yarn for spacing. Just start cutting out hexagon shapes til you have a pile of them in all the different colors you chose.
Start on top, glue the back of the paper, place on canvas. Next hexagon put yarn loosely between the gluedi and the next paper hexagon you want to place. Just do that til canvas is full. I did go around edgesto cut off what was hanging. (I used an exacto knife - I didn't get hurt! small victories when you are as clumsy as me!) 


Let your imagination take you as far as you want with this. I am not a professional artist, not a professional photographer, I'm just a lady that likes to do what she wants and when she wants! What do you think? Maybe spraypainted or paint the canvas first? I like how it looks like grout between the hexagons!


I wish you the best and much fun with this project!  Include a child or give them a small canvas to do! Love to see your pictures! Clear at the end of this blog you can sign up to get more fun ideas and follow me on pintrest! 

                                    Michelle Masterson
                                   Orlando Florida  

                                                                                https://about.me/thecoffeehutdepot       


Tuesday, April 7, 2015

Record Flowers


    I dress in "old' stuff" because if there's a paint can in 5 yards of me unopened I can get paint all over me! When my husband caught me with his "Industrial Heat Gun"  he was worried about my safety.

To be fair to him, I am rather clutzy!  In my left hand I am holding a record. Some of you have no idea what that is I can respect that. If you go into a Goodwill store and ask "Where's your records?" I'm sure you will get lead to them!


I just used a small can to balance this on and get up to where I could see it. Took the gun and pointed at area and passed gun back and forth til I could visually see the  record melting. Some people have done this in their ovens. I just bought a new one for 1600.00 and I am not going to have permenant melted records in her! No to mention if I walk off and forget the smell in the house would be bad!


Heat guns can be purchased at Home Depot Lowes and even Walmart. Don't try finding the one in picture....It's  industrial and my husbands professional tool of the trade.

Back to the record! I eyeballed 4 place to melt, only doing one place at a time. Shaped with my gloved hands. The oven idea the recommend temp was 175 degrees. So it does NOT take a lot to melt them!

I just love the idea of keeping it out of the landfill!


Using acrylic paint I went to town! Here were my first 3 ever Flowers!

I can invision these out on a yard barn. Or in your garden! Really it's where ever you want to pop some whimsical art!


Now where was I? Oh! you might need to have an idea how to hang these.


Good old fashion and free pop tabs! I am a lover of E6000 glue. Ready to hang.

At the time of the post I am looking at what I can use for a post. Perhaps a doll rod or well, those green stakes you see at the hardware.


Thanks for stopping by and I'm still waiting for feedback! Just say Hello and where you are from!

I did three repurposed project today and I am a bit tired so I am going to grab a bite for supper and hit my hot tub tonight. If you'll scroll to the end of this blog and sign up by email I would love to keep in touch!

                                      Michelle Masterson
                                      Orlando, Florida

                                     https://about.me/thecoffeehutdepot

Sunday, April 5, 2015

#DIY Addiction

Click to play this Smilebox slideshow
Create your own slideshow - Powered by Smilebox
Slideshow personalized with Smilebox


 I love making slideshows on "Smile box"  This is a cool way to share with you! Just to see how my addiction started click and you'll see pictures whirling - be sure to click on "Slideshow" to see my story! This opens in a new window and I had to click on one of the whirling pictures to see "PLAY SLIDESHOW"


 Thanks again for your shares and Please it gets lonesome here by myself, leave a comment! Tell me where you are from and how you found me! If you have a business let me help you with your social media/ Advertising!

Michelle Masterson
Orlando Florida

Easy #DIY Fun Labels

 Who doesn't have some type of bins for storage? When they are on a shelf sometimes at a glance you can't remember what's in them.

I had that problem yesterday. Then I went shopping and I didn;t want the kind that "stuck" on the fronts. My bins change from time to time based on what project I am working on or if I no longer am working on a project I delete what was in bin. I needed something I could change.

I found a assortment of stencils in the craft section at Walmart. I came home and was looking through them and seen this stencil:


I have card stock paper (from Walmart) grabbed my sharpie and stenciled on the card stock. Cut them out. I painted mine with arcrylic paint.

Had to look back in bins to get inventory. Wrote on my labels. Still thinking I did not want to adhere them on. I need something I can easily change.


 I eye spied my twine from any earlier project. I also have 2387 balls of yarn (should have used that!)


Took my exacto razor made an X in label and tied it on bin!


I seen another cool idea I can share. Get one of those wire basket bins and label your kids name on it. If you have stairs they pick up and put basket on stairs and carry up when going upstairs. I think kids would love their name on a bin and parents will love if they will pick up their stuff - maybe this would motivate them? I don't know anymore my kids are raised!


                                                  Life is great under the palm! Thanks for coming by if you scroll to the end and want to sign up via email I would love to have ya! Please share any post you like with your friends! I have some exciting post coming up! I love feedback and welcome our comments even if you just say Hello and where you are from! Blessings to all!
       

Michelle Masterson
Orlando Florida


Saturday, April 4, 2015

My First Decoupage

I am finding Goodwill is a great place to "practice" new ideas and  man did I have fun with my hand at decoupage!

<--- Started with this desk organizer.


This "wrapping paper" in chevron pattern was .33 at Goodwill.

Just mixed some elmers glue and water.   1:3 ratio of water and glue. Cut my paper to size for the front and started the tidious project. Must have patience! Taking a sponge I usd water to "wet" the surface. With decoupage you must use very thin paper. Placed the paper on wet surface and using a paint brush I smoothed out air bubbles. Then I applied my glue. You can purchase "Modge Podge" at your local Walmart.


The Stencil was .99 at Goodwill. I did rush this step. I just held the stencil in place and blotted the black paint on.

Now I have a super fantastic "Craft Caddy"


Thanks one and all for coming by! I hope you come by often.


 You are welcome to follow me on pintrest: Follow Michelle On Pintrest!

Michelle Masterson
Orlando Florida 

#SteppingStone, Eggs, and Easter!


HAPPY EASTER!


I seen an earlier post in a Facebook group I belong to where this talented lady used egg shells to make a stunning piece of art for her mother. That's where my inspiration started.


Hubster is in garage doing his "projects". When I eyed spied these stepping stones he had moved out of his way.


I was eating a snack...yep a hard boiled egg! So naturally from my morning inspiration I had  to do something with egg shells the two came together right there that moment in the garage! Hubster was glad to have me "hanging out" with him in the garage.


Hahhaha there I sit in white shorts...hence the reason for the cardboard box and to keep him from throwing it out. I don't see "trash" like he does! I'm just using good ole ELMER'S Glue to put the egg shells on top of the stepping stone.


My hubster keeps me in craft supplies because with all the creative energy I have he knows I am best kept busy! These are arcylic paints.


My painted stepping stone! Upcycling egg shells!


It is the holiday season and I would like to remind everyone and even myself:

Forgiveness is a DECISION

Not an emotion!


Michelle Masterson

Orlando Florida 


Friday, April 3, 2015

Easy Breezey No Fail - Make a BOW NOW

Get excited!  How many times have you thought "I wish I could make a bow?"  and trying to hook up with that friend that can isn't always easy is it? Well this is so easy this could be my shortest blog post ever!  How cool is that? Who likes to read directions anyways? You can make a bow faster then you can pour your coffee add creamer and milk! Let's go to the video! Leave me a comment pleasssseee!


I belong in a facebook group of people from all around the world who share their DIY, upcycle projects and post pictures of their projects they would like feedback on. It's an amazing fun group of positive people who keep my level or creating at such a high I have stayed up all night scrolling and doing more stuff I see in the group! This is a video for fun that describes many of us. If you have the bug come on over!!! https://www.facebook.com/groups/1393304950971571/1437927543175978/


Might call this our theme song/video!


It's 537 am here in Florida and I haven't pulled an all nighter since decoupage first came in style!

Looking forward to sharing again soon!  Can you share this post with someone you know who is carfty? Thanks!
                                                 Michelle
                                               Orlando Florida

                                                about.me/thecoffeehutdepot

Thursday, April 2, 2015

Beans, Terra Cotta Pots and Keyboard Keys!


 Beans, Terra Cotta Pots and Keyboard Keys!


Hoping most of these be self explanatory.

Bought glass vase at Goodwill
Battery operated candle
NAVY BEANS -spray painted
add bow or decoupage!

I like using coffee beans for the aroma when I have done these in the past!


Ever get excited at the computer and jump? Or in my case not awake and reach for coffee only to spill all over your keyboard? This time it was the DEATH of my keyboard. I couldn't use all my keys because I wore the letters off with all my social media work! But you can spell out all kinds of words if you still have yours.

Just pop off the keys (I used a kitchen butter knife to wedge under the keys and boy did they fly off!)


I already had the black push pins. I just hot glued the keys on the push pins!

One of my stops to Goodwill I seen a 3.00 keyboard and I am back in  social media business. Makes spilling your coffee a   little more easy to bare.


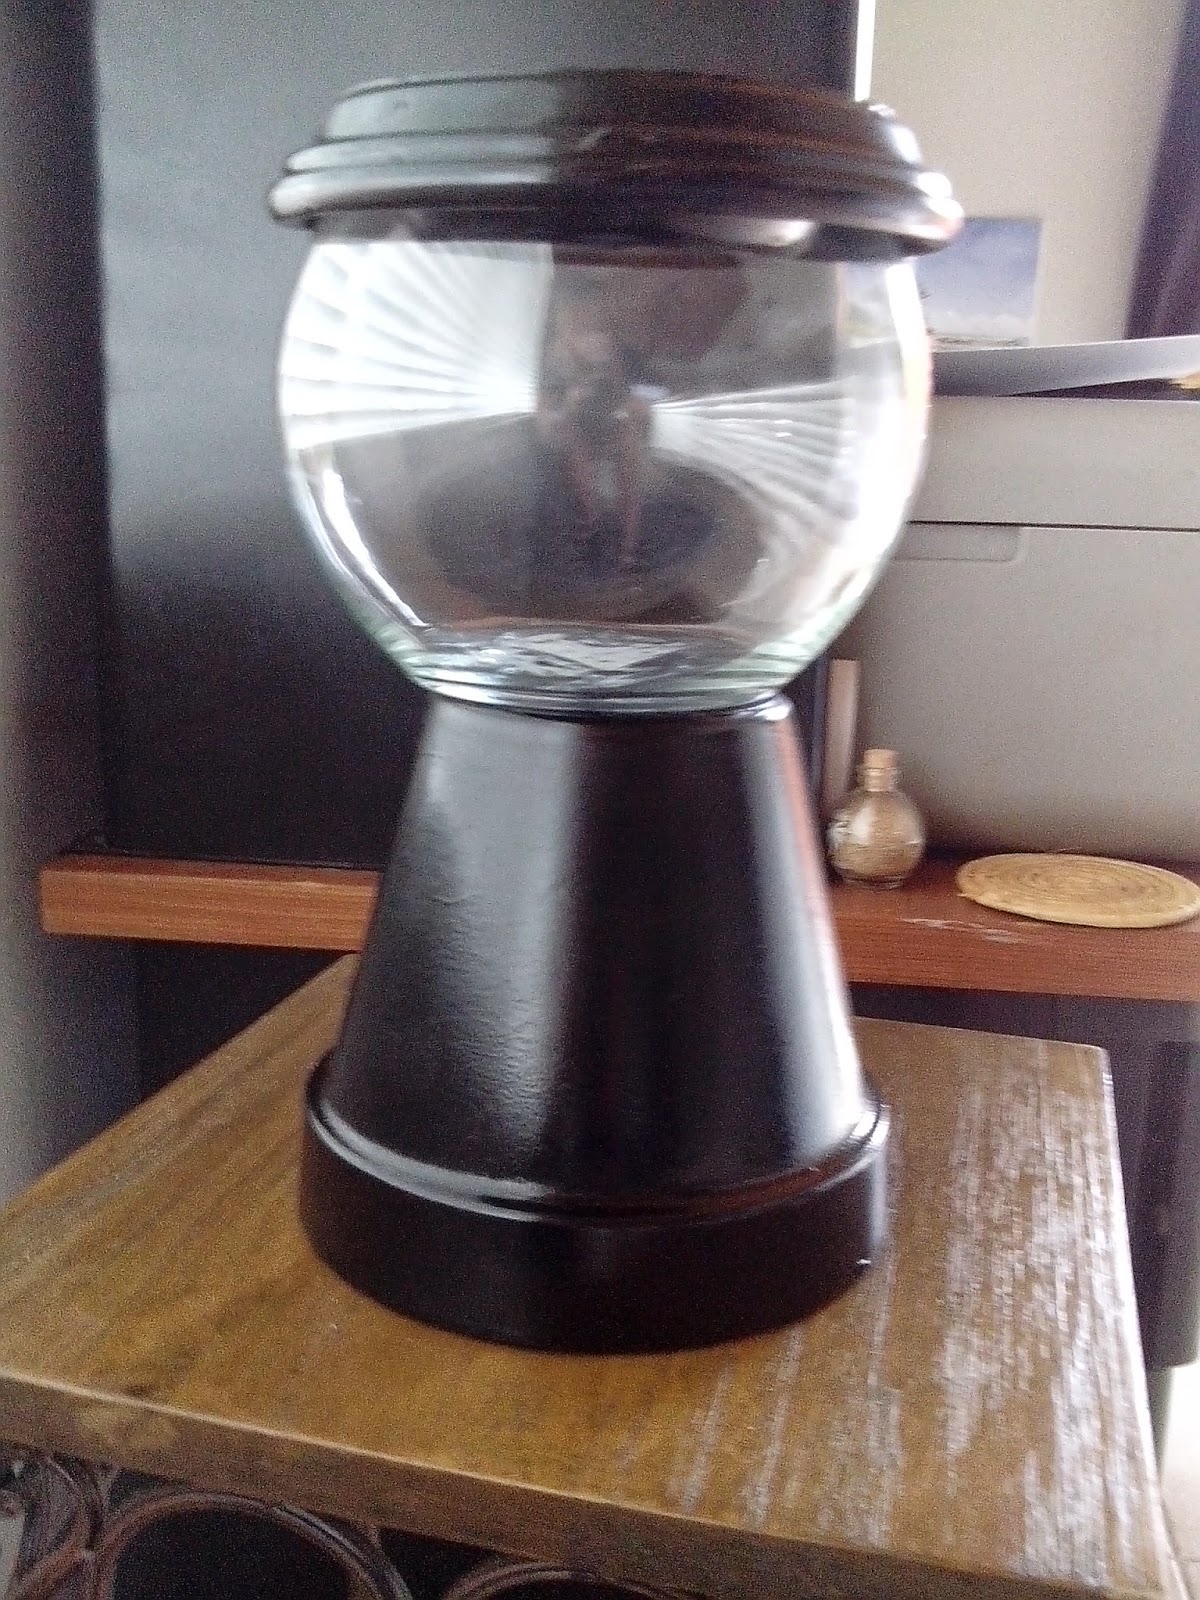
Terra Cotta Pot and two saucers
(Goodwill) glass bowl
Spray paint
Glue E6000

Spray pot and saucers. You need to pair up the saucer that  fits your bowl. Then buy one the next size smaller.
Glue bowl to upside down pot. Lay down larger saucer as if pot is going to sit in it. The smaller saucer, the opposite way inside the larger saucer. It will the larger saucer fit in the the bowl so it catches on sides. Fill with candy, nuts, or hey what about a gold fish?


   Thanks for the visit! I hope someone will share with me when they do these! Its fun to inspire!
                 

                                                                   Michelle
                             
                                                                   Orlando Florida

                                                                    about.me/thecoffeehutdepot


DIY Flower #Clock #Craft

I'm Michelle Masterson and I am addicted to:

DIY
Upcycle
Crafts
Hacks
Home Decor
Frugal Spending
People
Social Media


My blog post are much like my personality - I feel I am an adult that was diagnosed properly - I have self diagnosed myself with A.D.D I can be random and I can be forgetful but I love me! I think its what feeds my creativity! I'd love for you to share my blog anytime you can, love to hear from you! Where you from? What do you like? What questions do you have? If I don't know I'll research!

Okay I'm going to just jump in with a share, let me see if I have my pictures organized and see what I got! (I'll hit the tool button here to my pics and see what inspires me..hang on..no go grab your coffee or your kid that just ran out the door)


You'll need:

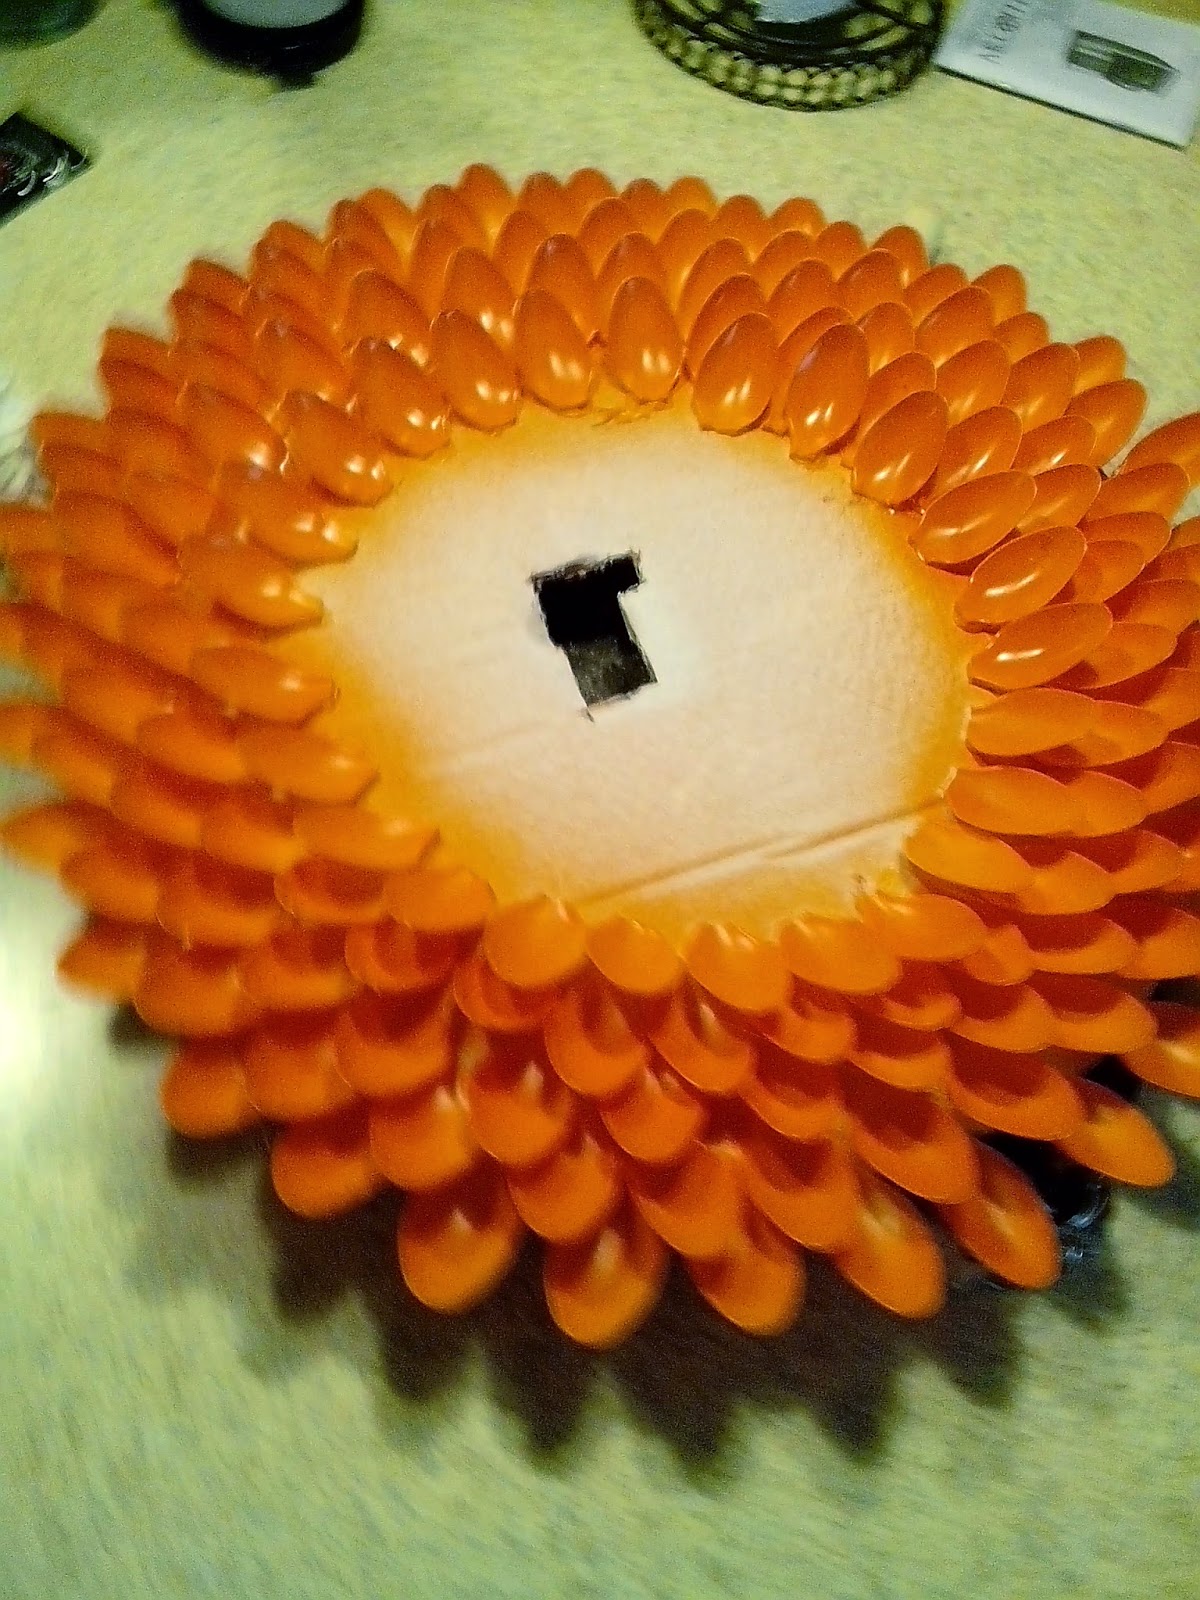
Spoons (keep your eyes open for these at goodwill or sale at your store)
Cardboard
spray paint
hot glue gun and glue sticks
Clock (I get mine aat Dollar General for 5.00)
soda can tab
red  handle tool thing snippers/pliers? (Husband is asleep at the time of post to ask...but a picture of what I used is good right?


Take out clock. Mine came with the clock screwed into the box. Save the screws! You'll use them to attach the clock to your cardboard. You decide how big you want your circle. If you don't have a clock, you can use a round mirror!


Snip off all the handles to the spoons (I have not found a resuse of the handles just yet). This is the longest part of the craft but after a few snips and you get the hang of it , it doesn't take that long!


 The first row is the edge of your cardboard. I just used two finger spaces between the spoons as I glued them around.

 The next row, using the above row as a guide, I looked where the space was above and placed the spoon so that it took up the gap visually. Look close at picture. You space the spoons just like you did for the first outward row. Repeat on the next row.
(Would someone let me know if this is notclear instructions for this part?)


I cut a whole so I could change the battery but I had to tweak after I was finished because I didnt have the whole lined up right.

Once you have all your spoons glued, grab your spray paint and in short shots press nozzle thats the secret for getting great coverage instead of spraying in a continious spray. ( I did better explaining I think)


Take your soda can tab and glue to back and hang! For those of you cooler then me (there's a lot who are) you can handpaint the tips of the spoon, decoupage your spoons?!
Unleash the creative beast!


I'm going to share a great guide for your use that was shared with me as a bonus and I wont get fancy and try to make you fill out a form or hold you hostage til you give me your email~ Nah I don' like that frilly stuff. ;)

Here:


Thanks for coming to Our Corner of Creativity!

Michelle Masterson
Orlando Florida


Wednesday, March 18, 2015

Where Does One Go For Inspiration? #AmericanSignatureFurniture For Me!


When you think about decorating do you feel like:


You want to be like the cool kids?

You look online and everybody ELSE amazes you?  I want to help wake up your inner creative self.

We can at least try right?  Ever heard that song "These are a few of my favorite thins"?

Don' t worry about the lyrics. Just think about the title. Make a physical or mental list of the things you love and enjoy.

Some people love vintage times , rustic surroundings, beaches, and the list goes on. Don't be afraid of what others like or don't like. For example, I love the color black. I think it comes from my younger days when I heard Johnny Cash song "The Man in Black" what it all stood for.

I would recommend going to www.overstock.com and looking at "wall art"  "art gallery" or "canvas art". See what draws your eyes. Is there a color theme you are really liking?

Let's talk about color. I am no artist, or professional interior decorator. I'm sharing what I learned in home economics some 100 years ago. Pick three colors. One will be your main focus (prime) the other two will be your accent colors. You can always google a color chart if you only have one fav color and want to do something different.

I'll let you in on a secret of mine. I go to American Signature Furniture  here in the south. (Up north Value City Furniture) A trip to their store inspired 3 areas of my house! Look at bed and back wall color. Walk around their gallery and see colors they put together if you don't trust your self - trust their professional interior decorators! I'm sure they have done plenty of research on whats trendy!


Now lets take a look how I went from one trip to American Signature Furniture to my paradise space called home!


 Couch?

 Nah just a bench!


Scored Ethan Allen Mirror at consignment store for 50.00 The Shelves?. Upcycle the glass shelves out of a TV entertainment center we pitched. Teal / Aqua is very complimentary to the orange so when I wanted to do guest bathroom it was natural I went with aqua to carry from the master bedroom to another part of the house.


 Thats how it went for me to fire up my creative beast! THANK YOU to American Signature Furniture and to your staff that puts the time in to research the trends! Sure makes decorating much more effortlessly!


Michelle Masterson
http://about.me/thecoffeehutdepot

Orlando Florida

P.S. I'm random and am looking forward to sharing my humor, my home and my friends that I meet online everyday who I feel will make you want to come back for all the diversity you'll find here in our corner!

I want you to know I am down to earth and I love hearing from you! So please leave a comment even if its just to say Hello! Or encourage me to keep blogging!


Yes you CAN make a bow!


How do you like going to a celebration and you see all the lovely bows? Or you have a craft that needs a bow?  Do you hear yourself saying "I wish I could make bows?"

For me, the idea of myself ever  making a bow was an instant hysterical laughing fit!


Let's just jump ahead to the video - You'll be making bows faster then you can drink your favorite am beverage!