
DIY
Upcycle
Crafts
Hacks
Home Decor
Frugal Spending
People
Social Media
My blog post are much like my personality - I feel I am an adult that was diagnosed properly - I have self diagnosed myself with A.D.D I can be random and I can be forgetful but I love me! I think its what feeds my creativity! I'd love for you to share my blog anytime you can, love to hear from you! Where you from? What do you like? What questions do you have? If I don't know I'll research!
Okay I'm going to just jump in with a share, let me see if I have my pictures organized and see what I got! (I'll hit the tool button here to my pics and see what inspires me..hang on..no go grab your coffee or your kid that just ran out the door)

You'll need:
Spoons (keep your eyes open for these at goodwill or sale at your store)
Cardboard
spray paint
hot glue gun and glue sticks
Clock (I get mine aat Dollar General for 5.00)
soda can tab
red handle tool thing snippers/pliers? (Husband is asleep at the time of post to ask...but a picture of what I used is good right?


The next row, using the above row as a guide, I looked where the space was above and placed the spoon so that it took up the gap visually. Look close at picture. You space the spoons just like you did for the first outward row. Repeat on the next row.
(Would someone let me know if this is notclear instructions for this part?)
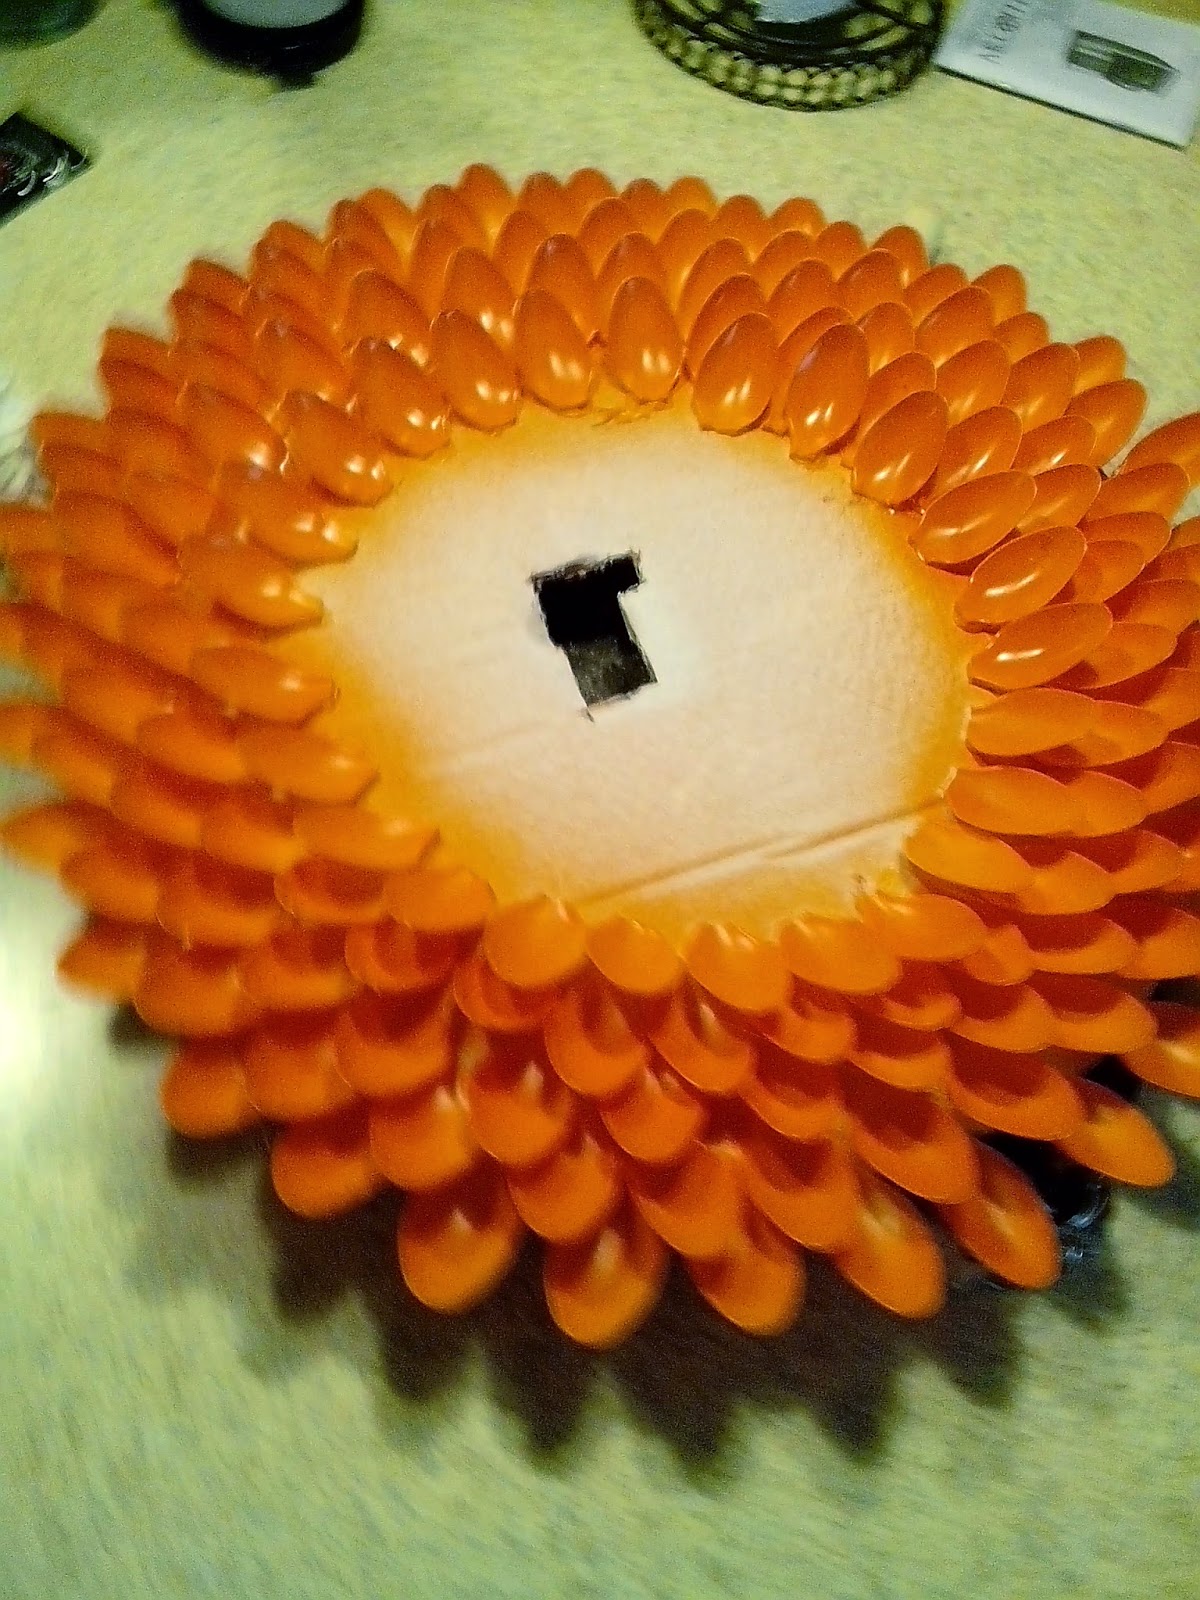
Once you have all your spoons glued, grab your spray paint and in short shots press nozzle thats the secret for getting great coverage instead of spraying in a continious spray. ( I did better explaining I think)

Take your soda can tab and glue to back and hang! For those of you cooler then me (there's a lot who are) you can handpaint the tips of the spoon, decoupage your spoons?!
Unleash the creative beast!
I'm going to share a great guide for your use that was shared with me as a bonus and I wont get fancy and try to make you fill out a form or hold you hostage til you give me your email~ Nah I don' like that frilly stuff. ;)
Here:

Thanks for coming to Our Corner of Creativity!
Michelle Masterson
Orlando Florida
No comments:
Post a Comment